Friday, February 27, 2015

A Quilt Round Up!

As a pattern designer, I love to see the quilts made using my patterns.  And in the month of February, there were a number of quilts that were shared with me and I wanted to share them with you.  
So many great and inspiring ideas!


This one is made using the Wiggle Time pattern instructions for a scrappy version.  All of the fabrics are dots. So Cute!


This one is also made using the Wiggle Time pattern.  This is a version using the instructions for fat quarters.


Here is another scrappy version.  I love all those bright colors!


Another bright colored one using black as the background.  Notice how the batik fabrics fade across to the right!


And finally another scrappy version.  Once again, it looks like someone used their stash of dotted fabrics.  I do love that red backing!


My Wiggle Time pattern is available in both my Payhip and Etsy shops.


There is also a Wiggle Time Pinterest board where I share even more quilts if you need more inspiration!


There have even been a few quilts shared using my newest pattern All That Jazz.  This one was made with some Asian fabrics all pulled from a quilter's stash.


And this one has such a great masculine appeal.  What a great quilt!


My All That Jazz pattern is also available in both my Payhip and Etsy shops.


As with all of my patterns, there is an All That Jazz Pinterest board for this one too.


And thanks to all the quilters who shared their lovely quilts with me.  I really do love to see them!  And if you are reading this and have made a quilt using one of my patterns, I hope you share your beautiful quilt and make my day!


If you are interested in more ways to follow me, you can find me on Facebook, Pinterest, Bloglovin', Feedly, Instagram, Google +, or get my blog sent right to your email inbox by entering your email address on the right sidebar! 
 
 
Linking up:

Richard and Tanya Quilts
TGIFF

This post contains affiliate links. If you click through and make a purchase, I may make a small commission, which I appreciate so much!

Thursday, February 26, 2015

Scrap-A-Palooza! Quilt #14 Part Two

With the return of the rain here in the Pacific Northwest, I have found myself back indoors and working away in my sewing room.  That means I have made a bit more progress on my scrap quilt.


If you remember, I am making this Scrap-A-Palooza quilt to try and tame my blue scraps a bit.  In my last post, I shared some of the squares I cut for a simple patchwork quilt.

Now with everything cut, it is time to get it up on the design wall so I can start the sewing! 


Whenever I am working with scraps, a trick I use to get the fabrics and colors dispersed evenly through the quilt is to split up my scraps.  As this is a fairly small quilt, I decided to just make two piles (the top and bottom halves of the quilt).  If it were a bigger bed quilt, I might choose four piles (one for each quadrant of the quilt).

To make these piles even, I just "deal" one of each fabric in two piles.  If I have more than two squares of a fabric, I just continue to sort them.  (Note:  I am never this organized.  I just did this to make a nice picture.)


All of the odd squares I throw into another pile to sort at the end.


To sort the odd numbered pile, I just try and pair up squares that are the same colors or have a similar look.


These get added to the piles along with the lighter fabrics using the same method.  Now we are ready to start putting them up on the design wall.


Using one of these stacks, I put the squares up for the top half of the quilt.  Remember, I am also adding some larger squares, a few light squares and some half square triangles to this quilt for interest.  I used the HSTs to create some fun diamonds floating among the blue patchwork.


Then using the second stack of blocks, I laid out the bottom half of the quilt.  I find when I divide up my fabrics at the start, I don't need to spend a lot of time moving around my layouts to disperse the prints and colors better.  I can get to the sewing a whole lot faster!


As you can see, I have started to sew the rows together.  I will be pulling off each row and using it as a leaders and enders project as I work on other projects. 


Before I know it, I will have a quilt top to share with you!


If you are interested in more ways to follow me, you can find me on Craftsy, Facebook, Pinterest, Bloglovin', Feedly, Instagram, Google +, or get my blog sent right to your email inbox by entering
your email address on the right sidebar!


Linking up:


My Quilt Infatuation.

Monday, February 23, 2015

Irish Chain Twist - Improv X Block Finish

I have to admit that one of the things I really enjoy about Melissa's Quilt Alongs is she does such a great job of breaking down the homework each week.  Even with a busy schedule, you can easily accomplish what needs to get done to keep up.  In no time at all, I finished this week's assignment for Happy Quilting's Irish Chain Twist Quilt Along.


I did not have quite enough print fabric to complete all of the blocks so I decided to add a solid.  I ended up with quite a few of my X blocks with one leg a darker peach.  It will be fun to see how this affects the layout!


It is not too late to join in the fun.  If you have never done one of Melissa's Quilt Along, I highly recommend them.  The instructions are clear and the weekly assignments are broken down so they are easy to accomplish.  And did I tell you there are prizes?!


If you are interested in more ways to follow me, you can find me on Craftsy, Facebook, Pinterest, Bloglovin', Feedly, Instagram, Google +, or get my blog sent right to your email inbox by entering your email address on the right sidebar! 
 
  
Linking up:

Happy Quilting

Sunday, February 22, 2015

Oh Scrap! : Little Penguin Quilts

Today I am more than pleased to share a great blog (and friend) that always inspires my creativity.  I have been following Diann at Little Penguin Quilts for quite some time now and I always look forward to seeing what she is working on.  Diann and I share a love for color and are probably both happiest when we are playing with scraps.


Diann is always making such fun little mini quilts from her scrap bin and orphan blocks.  So I asked her if she would be willing to share a quick tutorial on how to put one together and she agreed!


So today on her blog, she has shared a wonderful Quilt As You Go method for putting together this adorable little snack mat.  And look, even the binding is scrappy - See why I enjoy her blog so much!!
Thanks so much Diann!


So hop on over and check out Diann's tutorial and come back and share what you are making with your scraps.  Here are the details for linking up your projects:
  • This linky party is for any scrappy project - It can be in-process or a finished piece.
  • You can link up your blog post (not your homepage please) or Instagram photo from the past week that features your use of scraps.
  • If you are linking to a blog post, I ask that you link back to my blog somewhere in your post. So if you are writing about scraps, just get into the habit of including a link as there will be a linky party available every week!
  • If you are using Instagram, please use the hashtag #ohscrap.
  • This is a party so remember to socialize and comment on the posts of others.
  • Following my blog is not necessary but it sure would be great if you do!
Quilting is more fun than Housework
<a href="http://quiltingismorefunthanhousework.blogspot.com/" target="_blank"><img src="https://blogger.googleusercontent.com/img/b/R29vZ2xl/AVvXsEg54Z8EyMCoCg0j1sBoz_APBotiRQveh32vQoL2dCSO4nQFAi8du60IuUCQp3Hb18vGD8IrM0W6_vmuufImGcr4Pf2Ve2dNIWd5LbQJfyDTRjtcekT6coT7c2nSCOG_9dvjiKGVAnuTN70/s1600/Oh+Scrap+Button.jpg" alt="Quilting is more fun than Housework" width="125" height="125" /></a>

If you love scrappy projects, feel free to grab my button for your sidebar or posts and get ready to share all your wonderful projects from scraps.  And if you have a great idea for using scraps and would like to be featured, feel free to contact me!


If you are interested in more ways to follow me, you can find me on Craftsy, Facebook, Pinterest, Bloglovin', Feedly, Instagram, Google +, or get my blog sent right to your email inbox by entering your email address on the right sidebar!

Linking up:


Friday, February 20, 2015

Mimosa Charm - ALYOF


It all started because I was out of leader/enders blocks next to my machine!


While working on a quilt (that I can't share with you until this fall), a pile of trimmed triangles started forming next to my machine.  Because I didn't have any leader/ender blocks sitting ready at my machine, I started running these tiny triangles between my quilt blocks.

Being far too small for HSTs, I made cute little 2" hourglass blocks.  Well, they were cute until I had to trim them!


(BTW - Bloc Loc rulers also work great on hourglass blocks.)


 Besides gray and white blocks, there were a number of these blocks with some of the Mimosa prints by Windham Fabrics.  I sorted the blocks out by print and pinned them together to keep them organized until I had a plan for them.


Not long after completing these, I was asked by the Fat Quarter Shop to participate in their Layers of Charm blog hop (you can read about the quilt here). I chose to make my quilt with the Mimosa collection and used the scraps from that project to make these fun pinwheel blocks.

Well, I decided to use the scraps from both projects and make a small quilt.


 The hourglass blocks were turned into these little 4.5" star blocks.


I sewed up the pinwheel blocks to make a fun colorful center. The stars fit perfectly around the outside.  I even added some Kona Coal charm squares that were leftover from the Layers of Charm quilt for the cornerstones.


Having a number of the hourglass blocks still left over, I wanted to work them into an outside border some how.


I ended up just piecing them together with some small scraps I had. 
That is why you don't toss those scraps!


 Now the quilt has been quilted up and finished!  I think this small baby quilt has more piecing in it than any lap quilt I have made lately!


It is even cute on the back.  I had just enough of this plaid that works perfectly!


And it all started because I was out of leader/enders blocks next to my machine!


(And this little finish achieves my February A Lovely Year of Finishes goal of turning all these scraps into a quilt.  So far, I am two for two this year!)


If you are interested in more ways to follow me, you can find me on Craftsy, Facebook, Pinterest, Bloglovin', Feedly, Instagram, Google +, or get my blog sent right to your email inbox by entering your email address on the right sidebar! 


A Lovely Year of Finishes  
 
Linking up:


Sew BitterSweet Designs  (A Lovely Year of Finishes)
A Quilting Chick (Leader/Ender Challenge)

Thursday, February 19, 2015

Needs a Bit of Planning

I finally finished another block for my Basketweave Braid quilt.  After quilting all day at my longarm machine, I find paper-piecing a bit too tough to tackle at night so I don't get the opportunity to work on them much.  Add the fact there is a number of pieces to each block, this project is going to take a while to finish!


This brings the total paper-pieced blocks up to a whopping four.  I have been thinking lately how I want to use these blocks.  I know I don't have the attention span to make enough blocks to cover an entire quilt so various layouts have been running though my head.


 I still haven't decided whether to use the block I made with a fun striped fabric.  The colors are perfect but I am not convinced I like it with the pieced blocks.


 Right now I have the blocks laid out on my design wall on point.  I am sure they will get moved around quite a bit over the weekend as I contemplate their destiny.  There are probably at least four more blocks to sew up, but because these blocks are so time consuming, I certainly don't want to be sewing up any that won't work in the quilt!  So I need a plan before I go much further!


How about it, got any brilliant ideas?


BTW - The Basketweave Star block is a free pattern on Craftsy by The ADD Crafter. It is a great way to use up tiny scraps!


If you are interested in more ways to follow me, you can find me on Craftsy, Facebook, Pinterest, Bloglovin', Feedly, Instagram, Google +, or get my blog sent right to your email inbox by entering your email address on the right sidebar! 

  
Linking up:


This post contains affiliate links. If you click through and make a purchase, I may make a small commission, which I appreciate so much!

Monday, February 16, 2015

Irish Chain Twist - Improvisational Piecing

Even though I met with friends on Saturday to sew up some blocks for a donation quilt, I still found time that afternoon to get this week's assignment finished for Happy Quilting's Irish Chain Twist Quilt Along.


Thankfully, the sewing this week was really simple and could be chain pieced quickly.  I am using some old 30's reproduction fabrics that continue to show up in my stash.  I didn't have quite enough yardage of the peach print to make all of my blocks so I substituted a solid peach for the remaining blocks.  We shall see how this affects the layout.


It is not too late to join in the fun.  If you have never done one of Melissa's Quilt Along, I highly recommend them.  The instructions are clear and the weekly assignments are broken down so they are easy to accomplish.


If you are interested in more ways to follow me, you can find me on Craftsy, Facebook, Pinterest, Bloglovin', Feedly, Instagram, Google +, or get my blog sent right to your email inbox by entering your email address on the right sidebar! 
 
  
Linking up:

Happy Quilting

Sunday, February 15, 2015

Oh Scrap! : Scrap-A-Palooza #14 Part One

Sorry to be a bit late getting my post up today.  It has been a busy last couple of days and I just can't seem to get caught up!

Today, I wanted to share my next Scrap-A-Palooza quilt.  As I was putting away some scraps last week, I discovered my bin of blues was so packed, it would no longer close.  Guess we know what the inspiration for my quilt was!


I decided to just make a simple patchwork quilt - all in shades of blue.  Over the years, I have made a few of these types of quilts and find that they can get a bit boring.  To add interest to the quilt, changing the scale of the blocks, adding some lights in the mix, inserting blocks in complimentary colors (like fun turquoise) or making patterns with HSTs all work to give the eye something to look at.  I decided to add a bit of everything this time around and see what I can come up with.


Everything is now cut and ready to go.  I have a few 8.5" squares, some 4.5" squares (with a few in lights and turquoise) and some HSTs all trimmed up to 4.5".  It is hard to believe that just this bit of fabric will make a quilt 52" x 60".  Needless to say, my bin is still full (but at least it closes!).


So what are you are doing with scraps this week.  Here are the details for linking up:
  • This linky party is for any scrappy project - It can be in-process or a finished piece.
  • You can link up your blog post (not your homepage please) or Instagram photo from the past week that features your use of scraps.
  • If you are linking to a blog post, I ask that you link back to my blog somewhere in your post. So if you are writing about scraps, just get into the habit of including a link as there will be a linky party available every week!
  • If you are using Instagram, please use the hashtag #ohscrap.
  • This is a party so remember to socialize and comment on the posts of others.
  • Following my blog is not necessary but it sure would be great if you do!
Quilting is more fun than Housework
<a href="http://quiltingismorefunthanhousework.blogspot.com/" target="_blank"><img src="https://blogger.googleusercontent.com/img/b/R29vZ2xl/AVvXsEg54Z8EyMCoCg0j1sBoz_APBotiRQveh32vQoL2dCSO4nQFAi8du60IuUCQp3Hb18vGD8IrM0W6_vmuufImGcr4Pf2Ve2dNIWd5LbQJfyDTRjtcekT6coT7c2nSCOG_9dvjiKGVAnuTN70/s1600/Oh+Scrap+Button.jpg" alt="Quilting is more fun than Housework" width="125" height="125" /></a>

If you love scrappy projects, feel free to grab my button for your sidebar or posts and get ready to share all your wonderful projects from scraps.  And if you have a great idea for using scraps and would like to be featured, feel free to contact me!


If you are interested in more ways to follow me, you can find me on Craftsy, Facebook, Pinterest, Bloglovin', Feedly, Instagram, Google +, or get my blog sent right to your email inbox by entering your email address on the right sidebar!

Linking up:


Friday, February 13, 2015

Scrap-A-Palooza! Quilt #13 Part Four Finish

I am still marching on, trying to sew up my ever growing scrap bins.  This has been a really busy week but I still found time to get the Scrap-A-Palooza quilt on my longarm machine and get it quilted up.

To refresh your memory on how this quilt progressed:


The quilt started out with a quick sort to pull out just turquoise and lime green scraps.  Somehow, yellow made its way in the process too!


In Part Two, I shared how I make my improv blocks.  I made a stack of green and a stack of turquoise blocks.  Tiny bits of the yellow fabric went in each block.


I have been wanting to play with a two color backing for a bit now, so in Part Three, I shared how I used gray and white to set my blocks.  In no time, I had the quilt top finished.


 And because the sun popped out today, I was able to snap an outdoor photo of the finished quilt.  I find the gray and white background very playful.  
This will certainly be something I revisit in the future.


For the quilting, I chose to do a simple squared off swirl.


And for the back of the quilt, no turquoise and lime green fabric found in my stash was safe.  Whatever I could find went into this pieced back. It really cleared out some old fabric!


I like it!


And now for a few statistics:
Lap Quilt
Size: 55 x 68"
Large blocks trimmed to 8.5", Small blocks trimmed to 6.5"
Sashing and "stagger" pieces are all cut at 2.5"wide.


Remember, if you need some inspiration on how to use your scraps, the Scrap-A-Palooza gallery page has all the links to previous scrap quilts.


If you are interested in more ways to follow me, you can find me on Craftsy, Facebook, Pinterest, Bloglovin', Feedly, Instagram, Google +, or get my blog sent right to your email inbox by entering your email address on the right sidebar!  
Linking up:


Tuesday, February 10, 2015

I have Zero Willpower!

When I saw Melissa at Happy Quilting was hosting the Irish Chain Twist Quilt-Along, I knew I really had too much going on and would have to pass this time. Well, that was last week...this week I caved!


Here is Melissa's graphic for the quilt. I compromised with myself and will do a smaller baby quilt this time. I look forward to seeing how this quilt is constructed - it has me intrigued.


I decided to use up more of my 1930's reproduction fabrics. I continue to discover small pieces in my stash so finding a home for them is perfect.


This week we needed to get our pieces cut. I decided to go with a peachy orange for the x block, green for the petal blocks and will hopefully be able to use up the purples for the patchwork blocks. Kona snow will be used for the background.


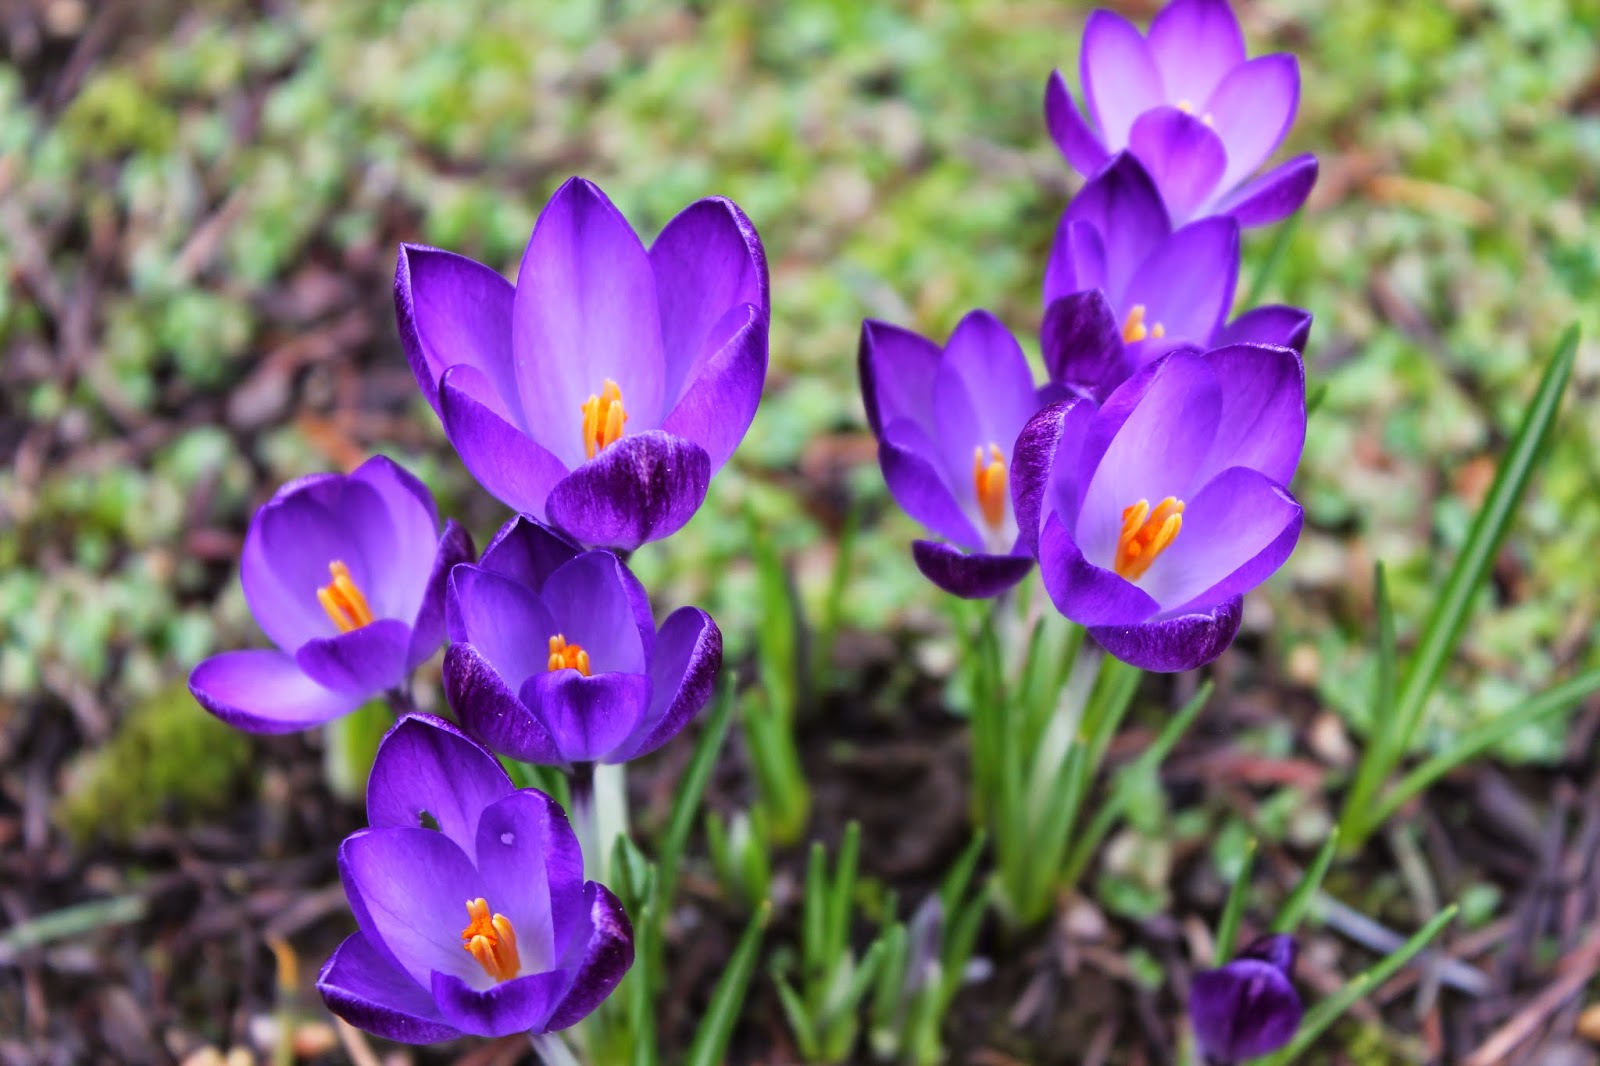
And the rains quit for a bit so I wandered around my gardens - Well Hello Spring!


If you are interested in more ways to follow me, you can find me on Craftsy, Facebook, Pinterest, Bloglovin', Feedly, Instagram, Google +, or get my blog sent right to your email inbox by entering your email address on the right sidebar! 


Linking up:

 
01 09 10