
Here it is - the second part to our scrappy sew along! I was so pleased to see everyone's comments regarding the first post on my scrap series - I really appreciated all the support! I know a few of you are sewing along and I cannot wait to see what fun quilts you come up with!
***Before I get too far along, I must apologize for the lack of photos on some of these steps. When I do find time in my sewing room, I am usually sewing on two or more projects at a time. I was sure I took lots of photos as I was sewing but when I sat down to write the post, it appears I only thought I took them! (sigh) Please have patience with me as I get my rhythm down on this series. I am going to try a different approach on next month's project!***
Last week in Part One, we got everyone choosing fabrics and determining cut sizes. Because I think sewing up your scraps should be painless and enjoyable, we will keep this week's activities simple too.

You will need to clear off your design wall (or floor) to do a bit of planning for this week's assignment. Once you find some time, loosely start laying out your scraps in bars.
Remember there will be sashing between the rows so don't worry too much about the same fabric being above or below.
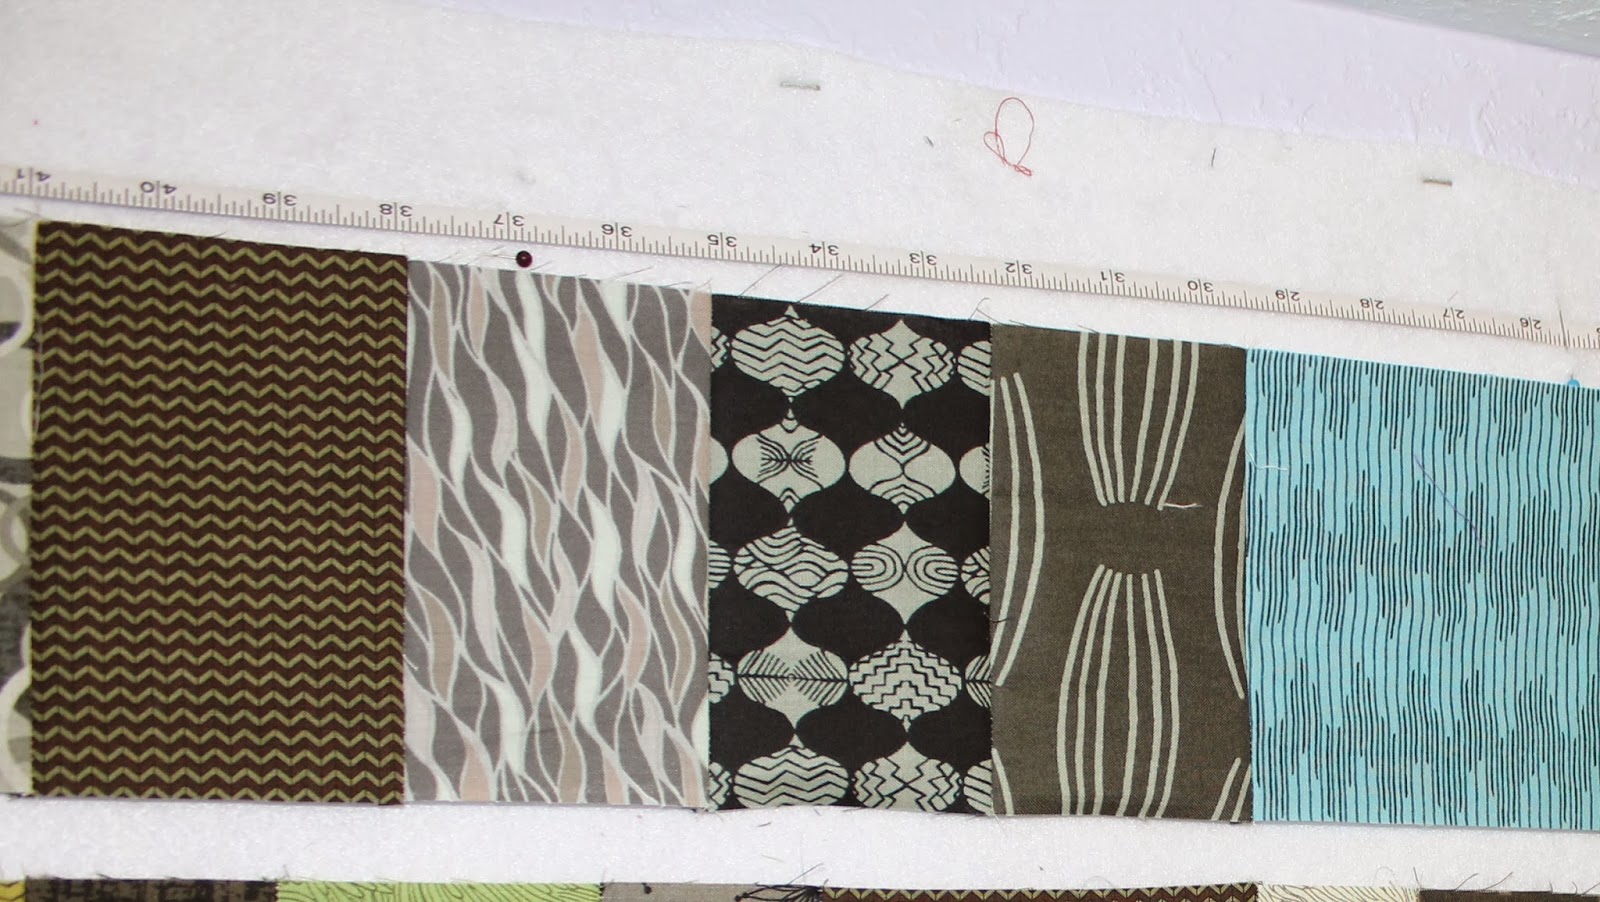
Remember, to overlap the pieces by 1/2" to account for the seam allowance.
(Or for those who like quilt math, just count the number of pieces in your row and divide by 2. This will also give you how much shrinkage in inches there will be due to to seam allowances. I prefer this to overlapping.)

Once you get all the blocks up on the wall, step back and check that the lights, darks and what I call "eye catchers" are spread throughout the quilt. You might also realize at this point that you need to cut a few more pieces to get to the size quilt you want.
I find I am most successful if I do this step quickly and try not to over think it. I simply mix up colors and block sizes as I go.
Note: If you "named your quilt" and pulled fabrics accordingly, you should find laying out the top will be quick and easy as your scraps will all work together.

Last week, I mentioned I wanted to try to work in some strip piecing that was left over from a previous quilt. On this quilt I grouped them all together in one row (the bottom row in this picture.)
Grouping them creates an area of interest among all the randomness. Sometimes I will insert whole orphan blocks into quilts like this.
Unfortunately, this detail doesn't show up much with these fabrics but it is still a great way to use up all those pieces floating around your sewing room.

Once you have everything placed as you want it, you can pull the pieces down off the wall. On each row, I grab the left most piece and safety pin a beautiful row marker (...made from a bit of fabric from the trash and a marker of some kind.) I then pull the entire row off in order from left to right. (To keep the row organized, I use the safety pin to pin the entire row together.)
Your rows are now ready to be sewn together. I love this piecing pattern because it can be sewn in between another project's blocks as a leader/ender. Just work on one row at a time to minimize confusion. Keep the pile of blocks next to your machine and the row marker always pinned to that first block (this is why I use a safety pin). As you sew each piece onto the strip, you know it is placed at the end furthest from the row marker. I just continuously work these through as I sew up blocks for another quilt. (You can go back and press the strip once you have it all sewn together.)
We will talk more about sewing up the strips and the rest of the top next time but feel free to start sewing up your rows now if you have the time this week.
I think you will find you'll have a scrappy quilt top sewn together in no time at all!
Here's an overview of the important stuff to do before the next step!
- Find time on your design wall
- Layout the rows to the desired quilt size
- Pull off blocks by each row from left to right keeping rows organized with a row marker
- Start piecing rows together (I use these as leader/enders while I sew other quilt blocks)
I always enjoy starting to see a scrap quilt come to life. Hopefully you are starting to enjoy what you are creating from your scraps. You will find each quilt using this same pattern will look very different, depending on the type and color of fabrics used. If you are sewing along, feel free to grab the button in the sidebar to share with your readers what you are up to. And if you have any questions, don't hesitate to contact me.
Now let's get back to the Party!

Linking up with WIP Wednesday at Freshly Pieced, Let's Bee Social at Sew Fresh Quilts and Needle and Thread Thursday with My Quilt Infatuation.
15 comments:
I love it when quilters share their process and how we all work differently. I smiled when I saw that how you don't like to OVER-think things. I guess I'm content to be an over-thinker when it comes to arranging blocks on the design wall ... and ironically, I planned to blog about my SLOW process of arranging blocks today–I linked to this article because it truly is one of the things I love about quilting ... there's rarely only one way to do things ;-)
It is going to be wonderful when done! When scrappy I just go for it also!
I wish I had known about your scrappy sew along! I love making scrappy quilts and I am learning that the sew alongs kees me motivated.
Great info!
Nice!! I cleared out my little box of scraps and was surprised to see just how much fabric was in there. I might not be too far from joining in afterall!
Great post to see how you do your quilts. I am finishing things up and hope to join in on one of yours sooner than later!
I think the idea of using a design wall is great - you have better control over the overall impact of the finished quilt! Can't wait to see the result!
Thanks for sharing your method, Cynthia! I have to agree that using a design wall (or two!) is such an invaluable tool. I am always amazed to see your results! Thanks sew much for sharing at the Let's Bee Social at Sew Fresh Quilts!
Fun seeing your process. I totally need to pin one of those measuring tapes to my wall! Great idea.
My method is less precise than yours - it's kinda the Fling And Throw Method, lol. After I sewed together my first row, I wanted it longer, so I cut out a couple of other fabrics and just added here and there as I went along. As I was doing that, I thought that's just my nature. We'll see how it turns out!
I love the tape measure you added to your wall. It is such a great idea. Your quilt will be so neat.
it's awesome to see your process, Cynthia. You always amaze me with the gorgeous quilts you make from your scraps!
Thanks so much for partying at Needle and Thread Thursday!
:) Kelly @ My Quilt Infatuation
You were right! Having the pile set up already is a great way to use it as leaders and enders so you can sew this as you are sewing other quilt tops. I love this idea! Now to get some scraps cut...
I am thinking of making a quilt like this using rainbow colored bars -red, yellow, green, and blue. Am I right in thinking I should decide on a top to bottom measurement (say 5 inches) and then my pieces can vary in width from 1.5 to 5 inches? That is what I'm understanding from your explanation so far!
I like the way you process it all. I love scrap quilts. I would rather make a scrap quilt than anything else.
Post a Comment