With this last bit of winter keeping many folks indoors, it is a great time to be tidying up those sewing rooms and sewing up those scraps. Last week we starting pulling our fabrics and cutting our squares for this month's scrap quilt. This week we will start seeing our quilt top take shape!
Unlike Scrap-A-Palooza Quilt #1, this quilt will be staying up on your design wall as you sew it. But I promise it goes together quickly and easily so you can get back to other projects real soon.

Many readers always ask "how much fabric do I cut?". This is a hard question to answer because all of these quilts can be made to any size so the answer can be very different for each quilter. While I went with a 4.5" square to get the best yield out of my scraps, the cut size can be adjusted - which will affect the final number of squares needed.
But to provide a ballpark number, for my quilt that will end up about 44" by 56", I cut about 120 squares (at 4.5"). As you become more experienced with scrap quilting, you will get a feel for about how many scraps are needed for a quilt top.
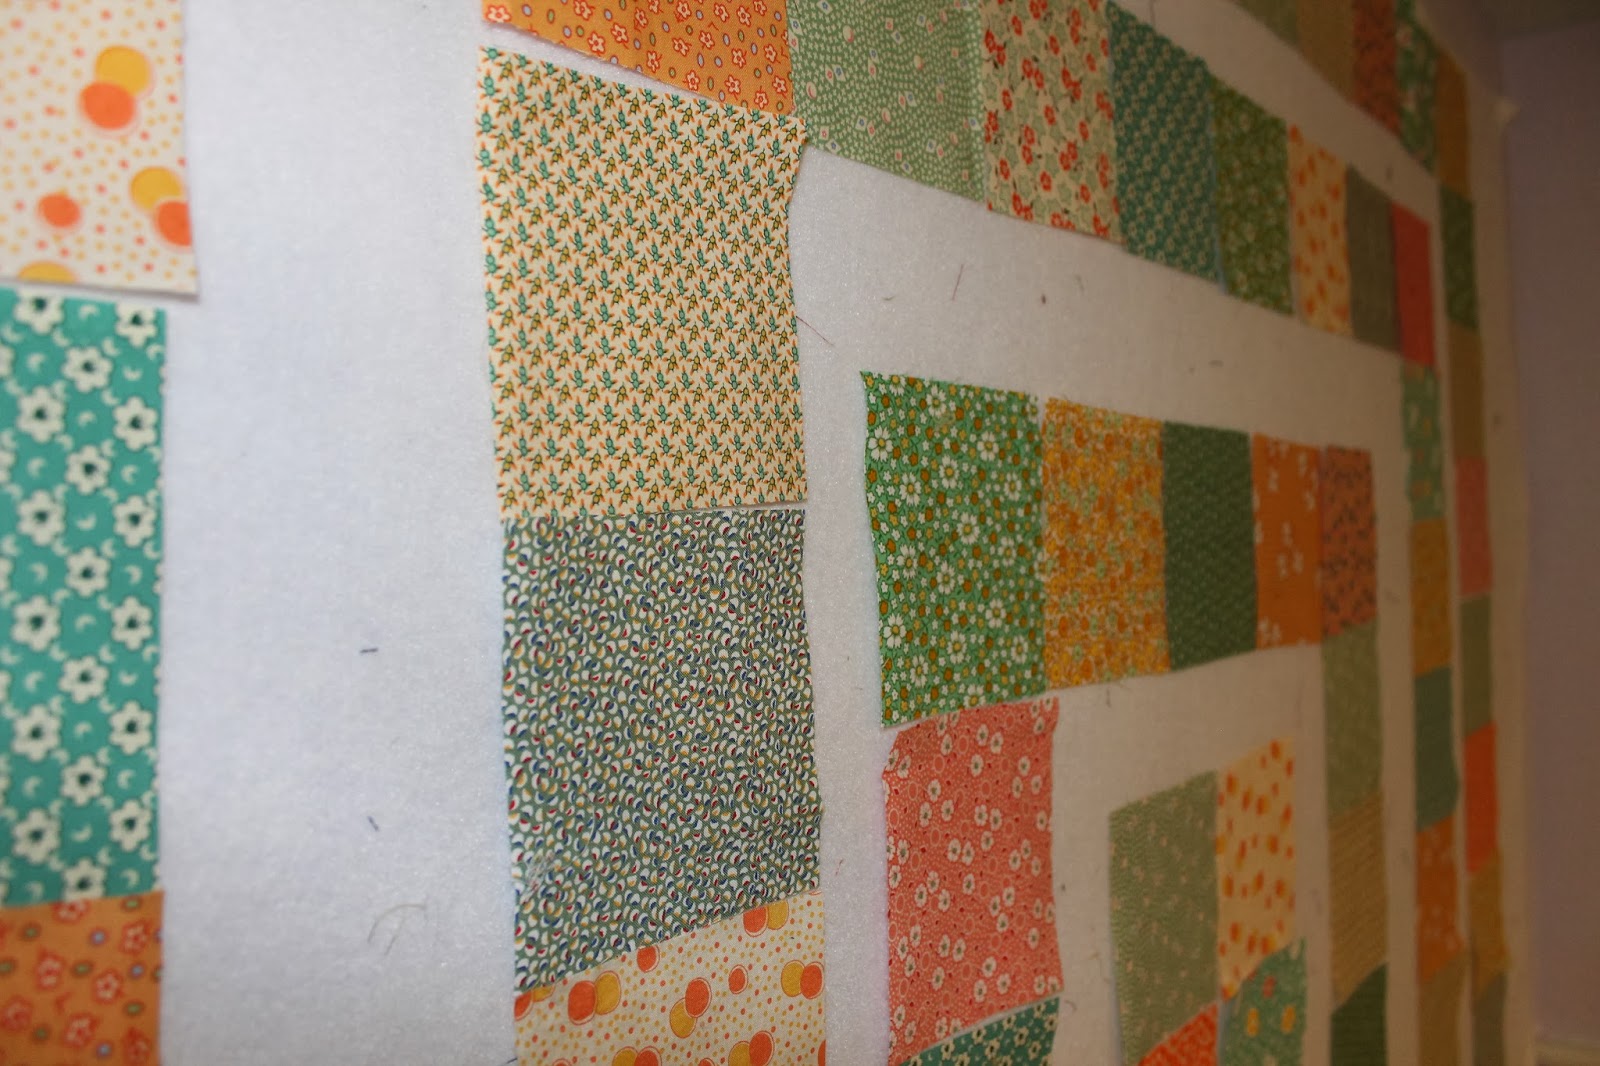
 Once you have some squares cut, you can start placing it on your design wall. This quilt is laid out starting with the center. To set the final shape of the quilt, you need to start with a rectangular or square shape.
With a square center, you will end up with a square quilt. To get a rectangular shape, you need to start with a rectangle. I went with a 2 x 5 block center. As this initial rectangle is 12" longer than it is wide (3 squares at 4" each), my finished quilt will be 12" longer than it is wide.
Now just start laying each ring of blocks out from the center. The number of blocks in each side of a "ripple" will be 3 more blocks than the previous ripple. For example, my side ripples started at 5 in the center and went to 8, 11, and 14 at the outer ring.

Challenge yourselves to get creative on this quilt top. You can make your center pieced area larger (maybe 4 squares by 7 squares), you can replace the 4.5" squares with 4 patches made with 2.5" squares, or even play with color and make each ripple a different colorway.
Use your scrap quilts to really play with design and color!
As you lay out your blocks into a layout you like, start thinking about what fabric(s) to use in the sashing (or background) that will "ripple" around with the prints.
I will be keeping with a more traditional feel and be using a nice cream color muslin I already have in my stash.
Now off we go to finish cutting up
our scraps and laying out our squares.
The next time we meet we will be cutting our sashing and sewing up the top.

- Determine a layout (square or rectangular)
- Layout all your squares on your design wall
- Decide on a background or sashing material
- And most importantly, get creative and have fun!
So let me know if you are joining in and tackling the scraps in
your own sewing rooms. I would love to include some pictures and links
to your projects. Feel free to grab the button in the sidebar
to share with your readers so they know what you are up to.
And if you have any questions, don't hesitate to contact me.
And if you have any questions, don't hesitate to contact me.
Now let's attack those scraps!

I will be sharing this with the following linky parties. Needle and Thread Thursday at My Quilt Infatuation and Really Random Thursday at Live A Colorful Life, Let's Bee Social at Sew Fresh Quilts, and WIP Wednesday with Freshly Pieced. Be sure and check out these blogs for even more quilty inspiration.
6 comments:
I am really liking this design! It is right up my alley! Looks like a great idea for charm packs, too, if you don't have a lot of scraps. Love seeing it up on the design wall!
I think it would be cool with the center in four patches and the outer rings in full squares. Perhaps with some 4 patches sprinkled into the rings, fewer and fewer as you get away from the center. Hmm... Perhaps I shall have to peruse my scrap bins when I get home. Thanks for the idea!
This looks like a lot of fun. I'm pretty sure I have enough scraps to get on board!
Looks like a fun way to use a lot of scraps! I look forward to seeing your finish.
I love the simplicity of this pattern. I've done a couple of quilts that are similar to this and I always love how fast and fun they are!
Thank you so much for sharing this at Needle and Thread Thursday!
:) Kelly @ My Quilt Infatuation
Tackling scraps? I think this week all I have done is make MORE scraps!
Post a Comment