Showing posts with label Studio. Show all posts

Wednesday, December 6, 2017

Every Last Bit

I don't usually keep really small scraps.  There is no way I will ever be able to sew up all the fabric I have right now in my lifetime so I have no problem tossing  tiny bits in my trash.  But...


When I get a large number of similar scraps, I can't seem to let them go.  I don't put these in my scrap bins - instead they pile up around my cutting table.  Such was the case for a bunch of gray trimmings I uncovered this week.  

They all measured about 1 x 4" - and there were a lot of them!


I knew I could use them with a number of pieces already cut in my stash.  So I pulled some 2.5" squares and some leftover binding bits in purples, grays and turquoises.


With almost no effort, I quickly had a pile of blocks.  I still had quite a few more gray "sticks" so I decided to pull more scraps and keep going.


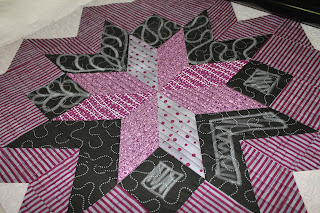
Looks like I am on my way to a lap size quilt!


But the really good news is my cutting table is all cleaned off!  I have now dealt with all of the fabric or bits of scraps that were piled all over it.  It was getting to the point where my cutting space was quite small. 

Now to work on the ironing board.  Who knows what I will find there!


Linking Up:

Friday, April 7, 2017

Boards

Boards...A funny title for a blog post but it was definitely the theme in my sewing room this week.


An afternoon was spent making a few more design boards.  I use them all the time when I am sewing up various blocks or quilt sections right at my machine.  I like to work on multiple projects at once so this allows me to pull a section of fabrics off my design walls and stack them up next to my machine as I sew.  I can also take them to my ironing board as I sew up the blocks - keeping them all together and therefore less confusing.

Here is a link to the tutorial I loosely follow.


 And speaking of ironing boards - mine now has a new cover!  Looking back at previous posts, it looks like my board needs a new cover annually.  Not being too particular about the fabric, I just pulled an older fabric from my stash that didn't have a home.  Because I never close my ironing board, I simply grab some string and a large needle and lace the fabric across the bottom making it taunt.  It works great!

These are my only finishes for this week.  I am busily working on three quilt projects so I hope to get a top done soon.  Maybe there will be a quilt finish for next week!


Craftsy


*This post contains affiliate links.

Wednesday, February 17, 2016

Light or Dark?

I have been meaning to recover my ironing board for quite some time.  I seem to always press in the same area so my cover becomes very scorched and soon starts to rip.


 Looking back, I last recovered my board in February of 2013  with this polka dot fabric.  Three years of hard use really isn't that bad but when choosing fabric for the newest makeover, I had both a light and dark fabric that would work.


I decided to go with a dark fabric hoping the scorch marks would not show up so soon.  I think it looks great but I admit, I have a harder time seeing things I lay on the board.  I am hoping I will get used to it soon and I won't feel like I am constantly being reminded I am getting older!

Do you have a preference on the fabric you use for your ironing board?  I hopefully will get another 3 years out of this fabric but I would love to know your thoughts!

Linking Up:


Thursday, February 6, 2014

Storing Your Scraps

One of the challenges I think all quilters face is how to store their scraps. I wish I could provide the perfect way to store these pesky bits but the truth is, you will want to store your scraps the way that works best for you. But to give you some ideas, I thought I would take some time and share with you how I store mine. 


Keeping scraps organized I think starts at your cutting table. I have my cutting area set up so that organizing scraps is at my fingertips.


Right above my cutting table, I have these fabric buckets that allow me to instantly sort my scraps by color.


If you are not into buckets, Amanda Jean at Crazy Mom Quilts has made these colorful bins to store her scraps.  You can read more about them here.


IMG_0586.JPG


And I saw these colorful vinyl pouches that I thought would be great to adapt for scrap storage.  Vera at Negligent Style even has a tutorial on how to make them.

I mean how cute are these?


Many fabrics are not easily defined into a single color, so under my cutting table I have a big laundry bin for the multicolored scraps.  I wish I had a better way to store these but to date, it eludes me.

I also have a second bin where I place all 2 1/2 inch strips. This prevents having to sort through all your scraps when you need a pre-cut size.
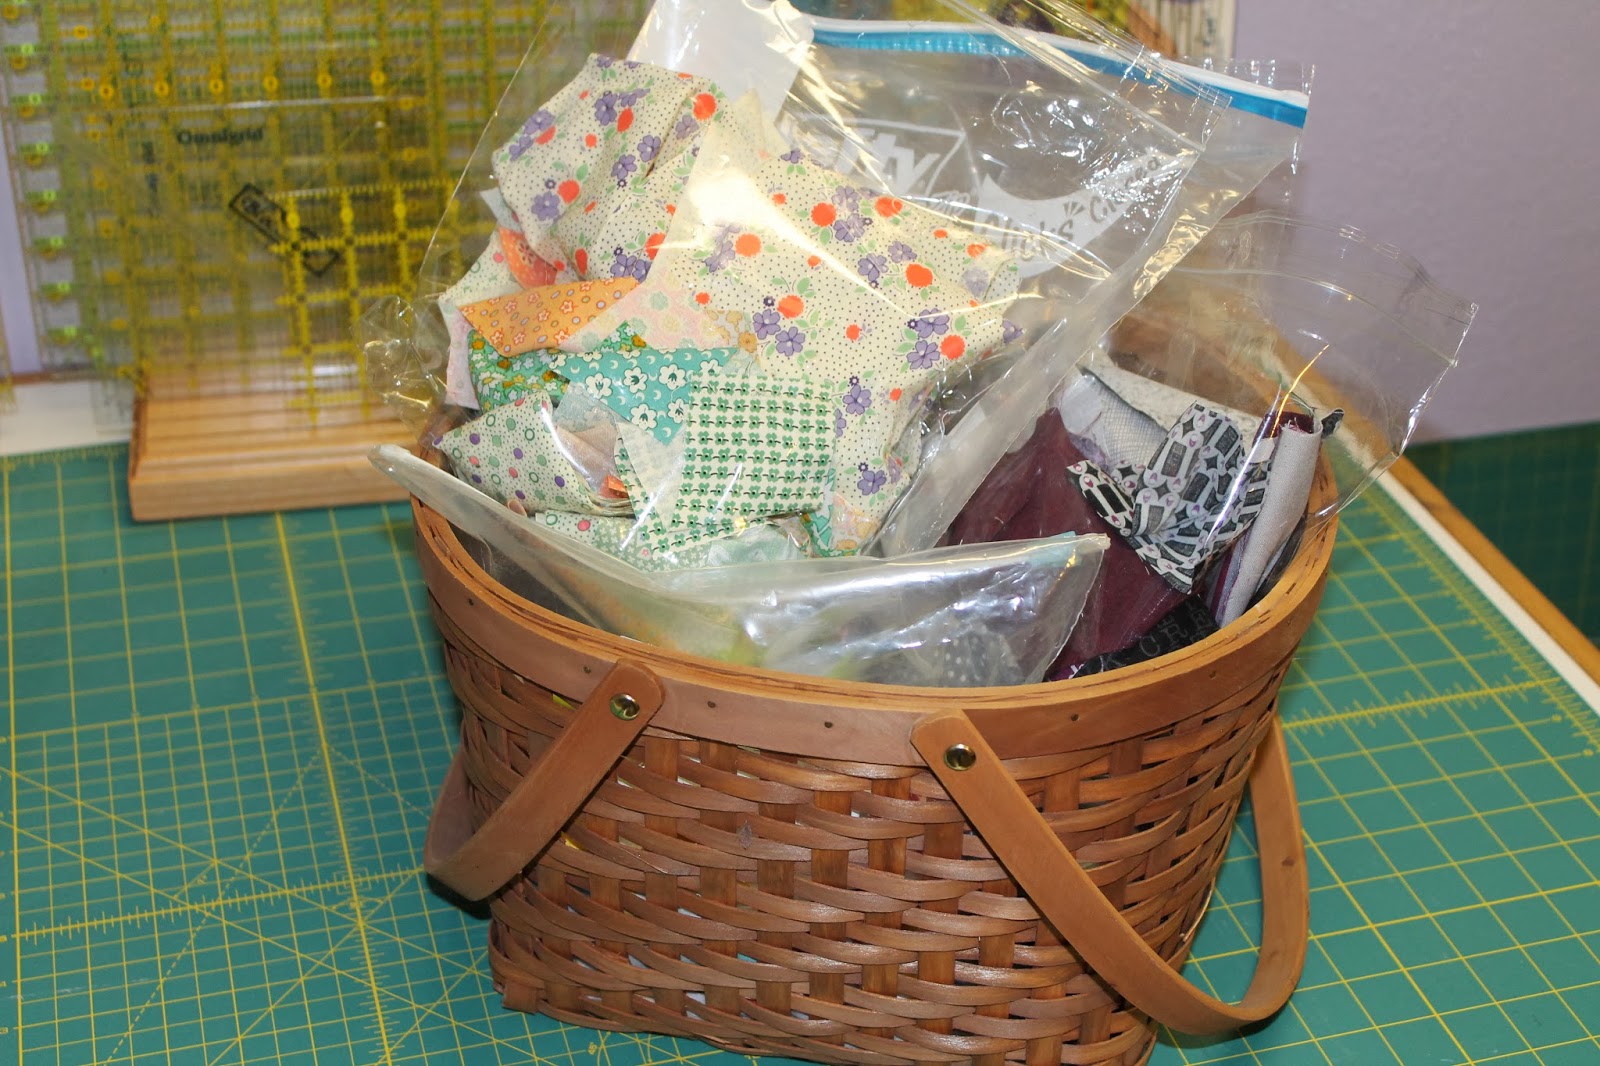


There is a third basket where I keep the scraps from previous projects or selected lines of fabrics.  Once I finish a project and I have a lot of leftover scraps, I will just put them all together in a storage bag to be worked into a scrap quilt at a later date.

I find I work through these scraps pretty quickly because all the color work is already finished.  I usually just need to add a few other fabrics to have enough for a project.


There are many scrappy quilters out there that like to store their scraps according to size.  I tried this for many years but I never seemed to have the right size scraps for the project I wanted to make.  Storing my scraps by color and keeping them as large as possible until I am ready to use them seems to work best for me.


Once my color coordinated fabric baskets overflow, the scraps go into larger plastic drawers once again sorted by color.

I love that I can pull out the drawers/colors I want and take them to my cutting table for sorting/cutting.


As I consider a quarter yard cut and smaller a scrap, I have four large drawers were I keep fabric that I can get folded and stand on end.

I try and keep these fabrics sorted by genre (prints, batiks, solids, novelty, holiday).


I also try and keep each genre of fabric sorted by color.  This makes pulling scraps so easy when you want to start a project.


And having the visibility of each fabric really helps when you are working on a project.


There is one precut size of scrap I do save, and that is 2 1/2" squares.  As I am cutting scraps for a project, I will sometimes go ahead and finish cutting up a fabric into these squares. 


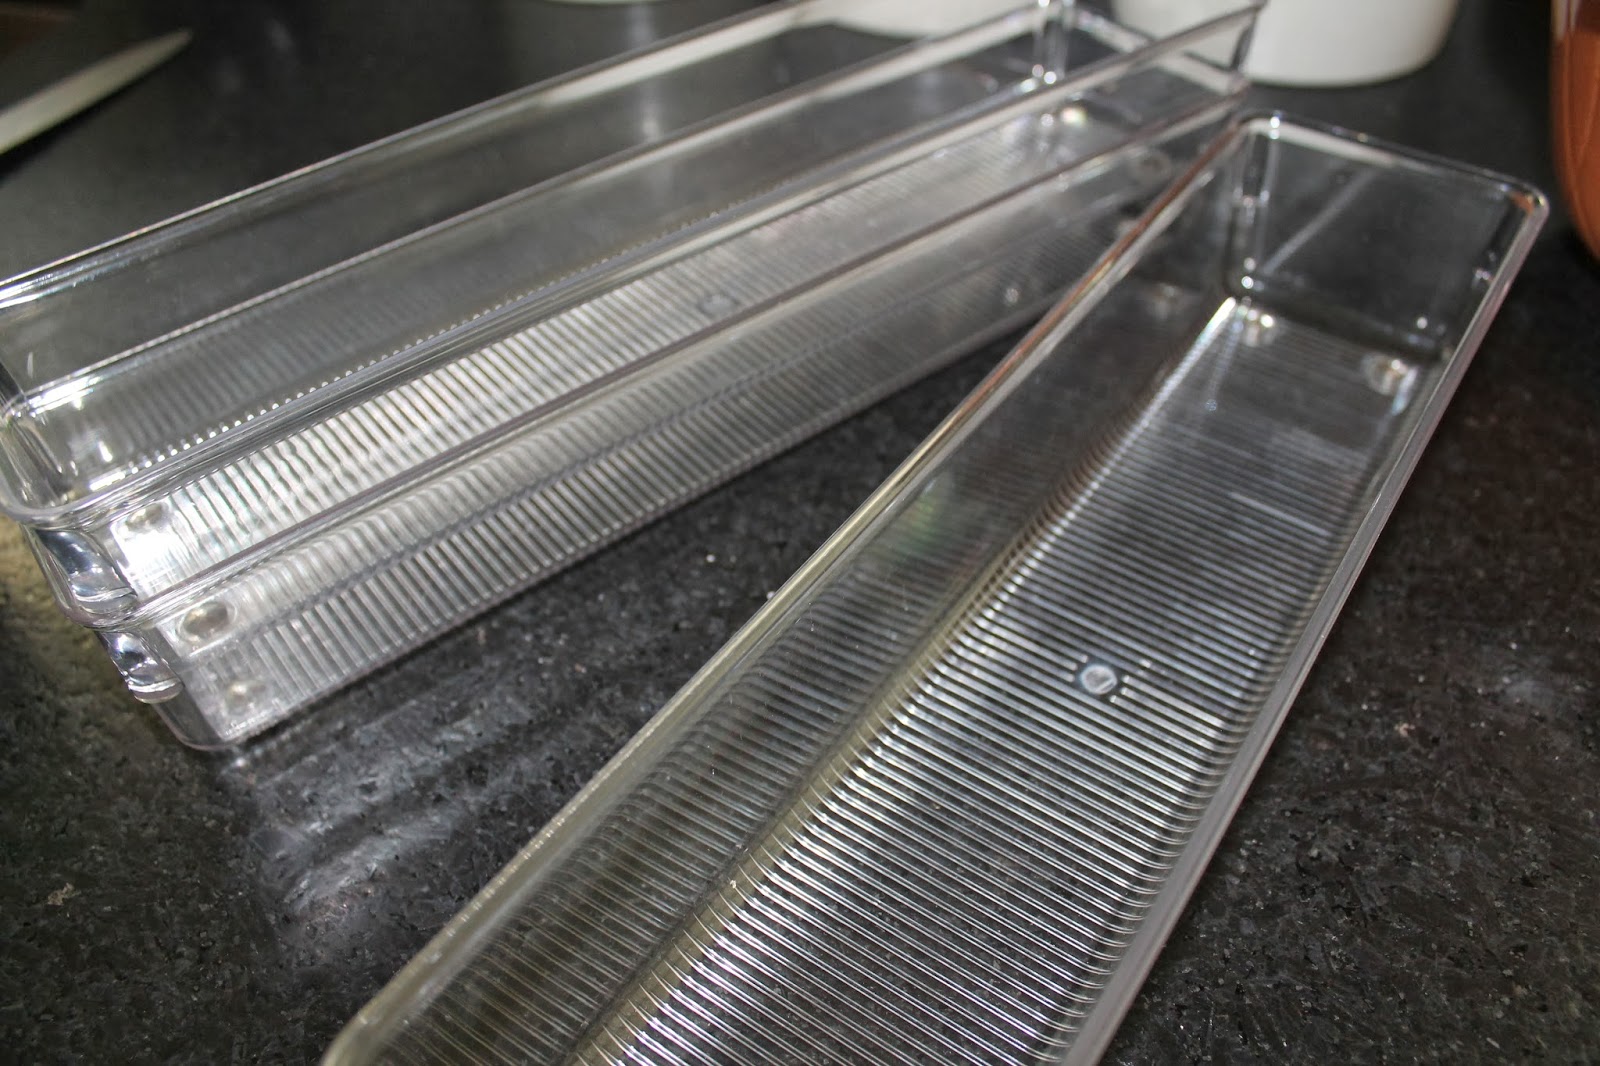
I find these plastic kitchen drawer organizers work great to store these in.  

You can label the scraps with trimmed index cards or even colorful paint chips.  Each square fits perfectly standing on end.


While a  2 1/2 in square is the smallest scrap I usually keep, I do keep some "crumbs" (or tiny bits). However I only keep these crumbs in solids as I occasionally use them in improv pieces.

No fancy storage here - ziploc bags work just fine.


If you do want to consider storing your scraps by size, Bonnie Hunter (the queen of scrap quilting) has lots of information about doing so here.


Getting your scraps organized makes using them so much easier!  And speaking of using them, I hope you find some inspiration in my Scrap-A-Palooza  scrap series, where almost every month, a new scrap pattern is used to make a quilt.


Isn't it time to get those scraps sewn into a beautiful quilt!

http://www.bloglovin.com/blog/5198185

Linking up with Needle and Thread Thursday at My Quilt Infatuation and Really Random Thursday at Live A Colorful Life.

Tuesday, December 31, 2013

Fun Fabric Buckets


On this last day of the year, I thought I would push to get one more project off my To-Do list.  Back in October, as part of my 4th quarter goals for the 2013 Finish A Long with she can quilt, I was hoping to finish a bunch of fabric buckets for my sewing room and studio.


I am happy to report that I have finished about a dozen now in varying sizes.  I had a bunch of denim I had been stashing away for years and I thought it would look cute with the colorful chevron fabrics I was wanting for the linings.


 As the denim varied greatly in stiffness and stretch, I think I used about 6 different interfacing to get the finished look I wanted. Each one had to have just the right amount of slouch but they also needed to have enough form to keep the bucket shape.  

My favorite is the big red one.  The blue and white striped material reminds me of my grandfather's striped overalls.


she can quilt

 I am hoping to get one more item on my Q4 list completed before the link up closes on January 8th.  The final quilt is on my longarm now so I hope to be sharing some pictures soon. Thanks Leanne for hosting this event and helping me to get these items finished!


http://www.bloglovin.com/blog/5198185

 Linking up with Freemotion by the River for Linky Tuesday and Sew Fresh Quilts for Let's Bee Social.

Sunday, October 13, 2013

Some Stash and Studio Additions


Even though I am trying to use up my scraps and the other fabric I seem to have stored all over my home, I still see those special pieces that I know just need to come home with me.


As I was heading out the door of a local quilt store, I spied these three beautiful stripes way down on the bottom shelf.  I love them so much, I might have to go back and get more.

These fabrics are from Micheal Miller and the designer is Mark Hordyszynski.


And these lovelies also found their way to my home.  Not only were they on sale, but I also got an additional 30% off.

Most of these fabrics are by Cloud 9 and are part of the micro Mod line by Rob Bancroft.


As you can see, they are already making their way into a project I started yesterday.  I am adding these new fabric additions to some scraps from my Star Surround and older stash pieces. 

I will certainly be sharing more of this project once I get a few more blocks finished.


Not only did I make some additions to my stash, I also picked up a few new items for my sewing room.

I am ashamed to show you the condition of my cutting mat.  I have been using it for over 15 years and as you can see it was pretty worn out.


Now I have a nice new 24" x 36" cutting space!


I always ask myself why I waited so long!  Boy is it nice!


I also bought this handy hanging wire basket.  I placed it right by my ironing board so I can store items like scissors, Best Press, and other odds and ends and not take up table space.

I might even put a fun coat of paint on it one day but I sure am enjoying it the way it is.


...and if you are curious, I am still working on the Scrappy Goose.  I have a plan and the top is almost done.  I hope to get it quilted soon and reveal it as a scrappy entry for the upcoming Blogger's Quilt Festival.

Thanks for your encouragement to get it done! 


Thanks for stopping by and have a great week!  Maybe some fun additions will be added to your own stash or studio!


Linking up with Sunday Stash at Finding Fifth, Anything Goes Mondays at Stitch by Stitch and Fabric Tuesday at Quiltstory.

Sunday, September 8, 2013

Some Favorite Tools

As I was quilting away today, I realized how important a few simple tools are to me.  Yes, I have many specialty rulers and expensive templates that I pull out every once in a while for a specific quilt.  But I thought I would share some items that make my quilting time so much easier.  


As a longarm quilter, I really couldn't write a post about the tools I use everyday without talking about Pete. (Yes, my longarm has a name and yes, he is a boy male.)  We have been together almost 8 years now.

Lots of people ask me what machine is best to buy.  Short answer is truly, 1) what you can afford and 2) what you feel comfortable running.  There are a lot of good makers out there.


Beside Pete, there are three other tools I use every day. 

   * Gingher snips on a lanyard around my
           neck.  (Love them!)

   * Self threading needles for burying
           threads.     (Best invention ever!)

   * White school chalk for marking.  
           (So handy!)


The chalk works great for auditioning quilt patterns onto a quilt, marking points or even drawing in actual quilting lines.  It stays put really well.  And once you are done, a slightly damp cloth easily wipes it all away.

Caution:  Only use white chalk.  Colored chalks may stain your quilt!


...and of course the thread.  Oh My The Thread!  I love my custom-made thread racks.  They (yep, there are more than one) are along the hallway leading to my studio and their brilliant colors make me smile every time I pass them.


So what tools do you love? Is there a certain brand you favor or a specific tool you always reach for?  Or better yet, is there something new that you have recently discovered that you want to share?  I would love to hear about them.  And I am sure so would others!


Linking up with Linky Tuesday at Freemotion by the River.  Check it out and see what everyone else has been up to.


Thursday, March 14, 2013

Time

As many of you know, I have been slowly reorganizing and cleaning up my sewing room.  Working away in there, I am always loosing track of time so I have been looking for a fun clock to put on the wall.  Not finding what I wanted, I decided to make one.  It was so easy and fun, I decided to share the process with you.


 Here's what you will need...
     1. A clock mechanism
     2. A deep canvas (deep enough for the
             clock mechanism)
     3. Staple Gun
     4. Scrap cotton batting
     5. Sharp Pointed scissors
     6. A fun fabric


I used a 8" square canvas.  I laid fabric over the canvas to select what motif I wanted on the clock face.  I then roughly cut the fabric so it was large enough to wrap around the canvas.  I placed batting between the canvas and the fabric for a softer look.  I started stapling from the center...


Getting the corners right was a little tricky but I ended up with everything all stapled down.  I then trimmed it up closer (the picture to the right is untrimmed).  If you wanted to hot glue some wide ribbon to hide all the rough edges, you definitely could.  As it hangs on the wall, I wasn't worried about it.


I did find it was necessary to place a few layers of batting between the  clock mechanism and the canvas.  Otherwise there is a small gap and the mechanism pulls on the canvas.  I just cut a small X in the batting so the threaded area for the hands could come through.


To make a hole for the clock mechanism to come through, I used some sharp pointed scissors (not my best ones) and carefully made a hole big enough to fit the clock.


It needs to be about 1/4".  Read the instructions on the clock kit you purchase.


Most clock kits come with stick on numbers.  You can choose to use them or not.  I like the look without them...


Here it is hanging in my sewing room.  I love how the clock dial is not centered and the fabric makes a fun face for the clock hands.


I made a second one for my quilting studio out of a piece from Laura Gunn's collection.  I used a much larger rectangular canvas for this one...


Caution - These little clocks are so easy and addictive, you might end up making one for every room.


If you try this and blog about it, please link back here.  I would love to see how yours turn out!

Sharing this idea with a few linky parties:

Let's Get Acquainted at Busy Bee Quilts
Fabric Tuesday at Quilt Story
Show and Tell Tuesday at I Have To Say...
WIP Weds at Freshly Pieced


01 09 10